This is the second post of a series about web development basics. Last time we built our first HTML page together. Today we’ll get to know more HTML tags and build a basic structure for a small website.
Take your webpage to the next meta level
I already mentioned the W3C validator tool we can use to check the syntax of our HTML files. Let’s do that with the code from last time. I’ll select the “Validate by Direct Input” tab, paste the code into the input field, and run the check. Fortunately, there’s no error but we get one warning: “Consider adding a lang attribute to the html start tag to declare the language of this document.” This sounds like an easy task, here is how the updated code looks like:
<!DOCTYPE html>
<html lang="en">
  <head>
    <title>My first HTML page</title>
  </head>
  <body>
    <h1>Welcome to my personal website!</h1>
    <!-- the webpage content -->
  </body>
</html>
Find details about the available values and the correct syntax of the language attribute on MDN.
Another meta tag worth including is the definition of the page’s character encoding to make sure all “special” characters are displayed correctly. The only valid encoding for HTML5 documents is UTF-8, so we update our code accordingly:
<!DOCTYPE html>
<html lang="en">
  <head>
    <meta charset="utf-8" />
    <title>My first HTML page</title>
  </head>
  <body>
    <h1>Welcome to my personal website!</h1>
    <!-- the webpage content -->
  </body>
</html>
This code snippet is a perfect starting point for any new webpage you create.
A small website setup
Speaking of new web pages… Today we are going to extend the single web page we created last time and turn it into a small website consisting of a homepage, an about page and a contact page. Each of these should contain a navigation, a header, content and a footer. This is how the basic structure of a page should look like:
<!DOCTYPE html>
<html lang="en">
  <head>
    <meta charset="utf-8" />
    <title>My first HTML page</title>
  </head>
  <body>
    <nav>
      <!-- website navigation -->
    </nav>
    <header>
      <h1>Welcome to my personal website!</h1>
    </header>
    <main>
      <!-- the webpage content -->
    </main>
    <footer>
      <!-- website footer -->
    </footer>
  </body>
</html>
Soon you’ll notice that, without any help from frameworks and build tools, building websites means copying and pasting code from one page to another a lot. There are ways to write HTML code once and reuse it where you need it, but as we are just starting out with web development, manually building the HTML structure is part of the exercise and will help you remember tag names and attributes.
The full code of this article can be found on GitHub. Go to repository.
HTML tags to structure a page
HTML5 comes with a lot of tags you can and should use to structure your page content. I already used some of them in the code snippet above:
navfor the website navigationheaderfor the page headermainwhere the page’s main content should be placedfooterfor the webpage footer, usually you can find contact information and additional links to a sitemap, privacy information, imprint, and so on.
The cool thing about these tags is: they define so-called landmarks, areas on your page given a specific name and role. If your page is structured programatically by using appropriate HTML tags for special sections, users navigating your page via keyboard or using assistive technologies have a much better experience. Not all website users are able to see the webpage and its design, so we have to help them perceiving the content in another way by using semantic markup.
Creating sub pages
Let’s create two new pages and place them in the same directory as the page we built last time. The three files we have now should be named
- index.html (the page from last time)
- about.html
- contact.html
Use the snippet from above as a starting point for the new pages. Enhance the index page with the new HTML tags we just learned.
<!DOCTYPE html>
<html lang="en">
  <head>
    <meta charset="utf-8" />
    <title>My first HTML page</title>
  </head>
  <body>
    <nav>
      <!-- TODO: add navigation -->
    </nav>
    <header>
      <h1>Welcome to my personal website!</h1>
      <p>Hello everyone, this is my first HTML page.</p>
    </header>
    <main>
      <!-- main content -->
    </main>
    <footer>
      <p>This website is built with love in Austria.</p>
    </footer>
  </body>
</html>
Great! Now we have three single web pages. In order to make a website out of it, we have to link them. Time to get rid of the TODO and build a website navigation!
The website navigation
The navigation is usually a list of links to other pages. We already know which HTML element to use for that: the anchor (a) element. For our small website we need three, each one linking to one of the pages.
<nav>
  <a href="index.html">Home</a>
  <a href="about.html">About me </a>
  <a href="contact.html">Contact</a>
</nav>
Remember, the text between the opening and the closing tags—the element’s content—is the text you can click on to navigate to the desired sub page. The href (hypertext reference) attribute tells the browser where to go when the link is clicked. Include the navigation on all three pages.
Fill the pages with content
I’d like for my website to show my recent work (on the homepage) and some of my hobbies and activities (on the about me page). I’ll use the header of each page to add a few lines of introduction. The main section contains the main content. The navigation and the footer will be exactly the same on each page.
The homepage
I’ll move some of the content that we’ve placed on our first page last time to the about me page and add a few more lines of content. That’s how the header and main sections look on my index page right now:
<header>
  <h1>Hello, my name is Lara!</h1>
  <p>
    I am a developer and a musician. This is a small website I created during a
    web development tutorial. I like the web and all the awesome features of
    HTML and CSS.
  </p>
</header>
<main>
  <h2>This is me</h2>
  <p>
    I not only like web development and music but also cats. This is me with my
    cat Gandalf (the white).
    <img src="./images/me.jpg" alt="A photo of me and my white cat Gandalf." />
  </p>
  <h2>My projects</h2>
  <ul>
    <li>
      <h3>Shopping list application</h3>
      <p>
        I never go shopping without a list. I couldn't find an application that
        suit my needs, so I wrote my own.
      </p>
    </li>
    <li>
      <h3>Museum website</h3>
      <p>
        A friend of mine works in a museum and asked me if I could build a
        website for them. I said yes.
      </p>
    </li>
    <li>
      <h3>Snake in the browser</h3>
      <p>
        I loved playing "Snake" on my mobile phone back in the late 90s. Last
        year I built a version you can play online in the browser.
      </p>
    </li>
  </ul>
</main>
Feel free to update the content with your personal projects and add even more below.
Note that you are allowed to put a lot of elements within the li tags, but only li elements are valid children of the ul element. So the following code would not be valid, as the h2 headline is not allowed to be a child element of the unordered list:
<ul>
  <!-- h2 is not a valid child of ul -->
  <h2>My projects</h2>
  <li><!-- ... --></li>
  <!-- more list items -->
</ul>
You can check it using the W3C validator tool or have a look at the list item documentation on MDN where you can read what’s the element’s permitted content.
The about me page
This page is going to be a small collection of things you like to do. Each topic placed in its own content section. Be creative and use the HTML tags we already learned: p, img, a, h1, h2, h3, ul, li.
The header and main content section of my page look as follows:
<header>
  <h1>About me</h1>
  <p>
    Besides coding I love to fill my life with a lot of things and activities.
    Here you can find some of them…
  </p>
</header>
<main>
  <section>
    <h2>Plants and gardening</h2>
    <p>
      I love nature, especially all kinds of plants. This is why I spend a lot
      of time in my garden and have almost too many indoor plants at home.
      Here's a list of my favorite ones:
    </p>
    <ul>
      <li>Croton</li>
      <li>Dracaena</li>
      <li>Pilea peperomioides</li>
      <li>Zamioculcas zamiifolia</li>
      <li>Spider plant</li>
    </ul>
  </section>
  <section>
    <h2>Music and record collection</h2>
    <p>
      Next to my plants there's my record player. And a collection of already
      150 records and counting. After a long day I love spending the evening
      with a glass of red wine and listening to music.
    </p>
  </section>
  <section>
    <!-- add more content here -->
  </section>
</main>
There’s a new element in the code snippet above, did you spot it? Correct, it’s the section element. I use it for the different content sections on the about me page. It’s recommended to include a headline in a section.
Block and inline elements
Most of the elements we learned so far are so-called block elements. The only exceptions are the a tag and the img tag. But what’s the difference?
Rectangles to structure your page content
Block elements are—as the name suggests—blocks (i.e. rectangles) on your page, always starting in a new line and taking 100% of the available space in x-direction (horizontally); they are usually used to structure the page content. Let’s have a look at the about me page in the browser and open the developer tools.

When selecting a block element, e.g. a section, the area of the element’s content is highlighted in the browser. Also the width and height information is shown. This feature will become useful once we’ll work with page layouts. As you can see, a block element always has a width of 100% and the height depends on the content inside.
Rectangles that stay in one line
Unlike block elements inline elements don’t start in a new line but stay where they are next to the elements or text that come before and after them in the code. Examples for inline elements we already know are the anchor and the image element. Have a look at our navigation: in the code there are three links, each of them starting in a new line.
<nav>
  <a href="index.html">Home</a>
  <a href="about.html">About me </a>
  <a href="contact.html">Contact</a>
</nav>
In the browser, however, the links are displayed next to each other. This is because they are inline elements. An inline element’s width depends on its content and the height on the line-height of the text.

Two useful inline elements to highlight parts of a text are em (emphasized) and strong. The former is usually rendered as italics, the latter as bold. I often use them to emphasize parts of the text:
<main>
  <section>
    <h2>Plants and gardening</h2>
    <p>
      I love nature, especially <em>all kinds of plants</em>. This is why I
      spend a lot of time in my garden and have almost too many indoor plants at
      home. Here's a list of my <strong>favorite</strong> ones:
    </p>
    <ul>
      <li>Croton</li>
      <li>Dracaena</li>
      <li>Pilea peperomioides</li>
      <li>Zamioculcas zamiifolia</li>
      <li>Spider plant</li>
    </ul>
  </section>
  <section>
    <h2>Music and record collection</h2>
    <p>
      Next to my plants there's <em>my record player</em>. And a collection of
      already <strong>150 records and counting</strong>. After a long day I love
      spending the evening with a <em>glass of red wine</em> and listening to
      music.
    </p>
  </section>
  <section>
    <!-- add more content here -->
  </section>
</main>
This is how it looks in the browser:

The contact page
There is one last page on our website without any content so far: the contact page. In this place we provide some data a website user can use to contact us, like our name, an email address and a phone number, and a physical address. Here’s the main section of my contact page:
<main>
  <section>
    <p>Contact me via email, phone or send me a letter.</p>
    <address>
      lara@scale.at<br />
      +43 699 01 234 567<br /><br />
      Rainbow Alley 42<br />
      1010 Vienna<br />
      Austria
    </address>
  </section>
</main>
We use the address tag to semantically enhance this part of the page and indicate that contact information can be found here.
The br tag produces a line break, another empty element that doesn’t have any content inside.
Link to email and phone number
I guess you’ve seen contact data sections on websites where you could just click on the email address and your mail program opened, or on the phone number and you could start a call, right?
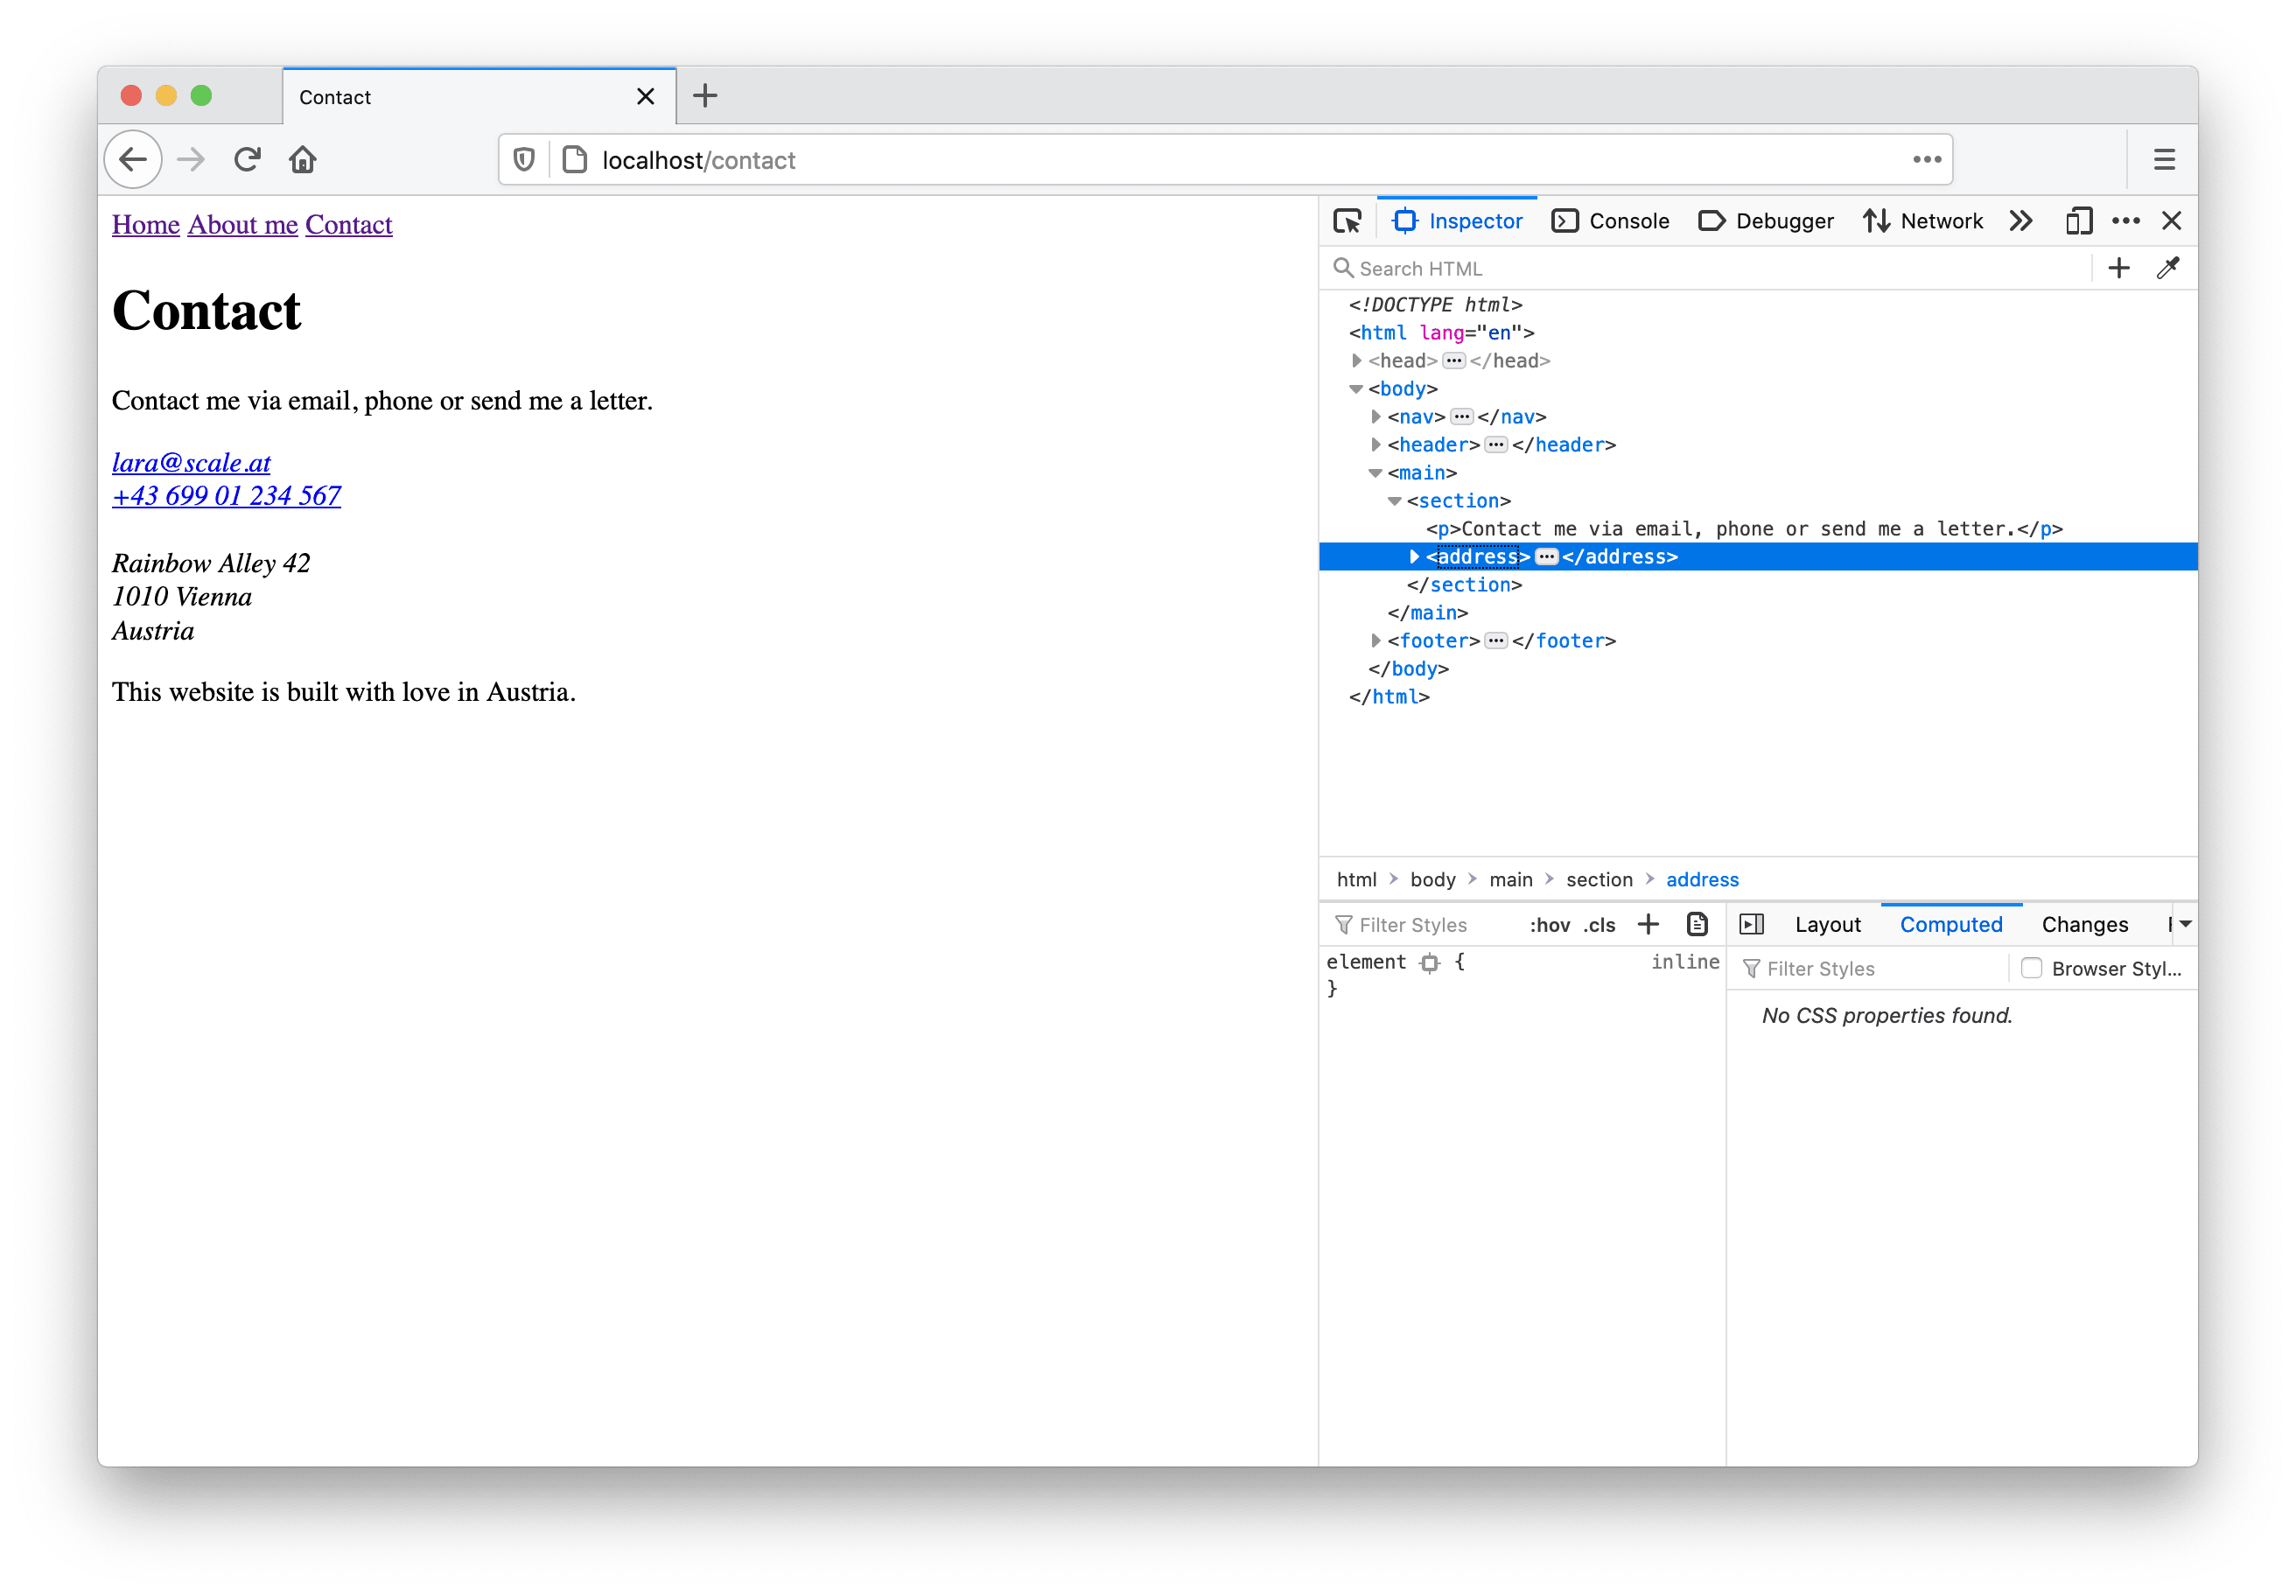
To provide this functionality on our web page as well, we have to wrap the link and the phone number with a tags and use the mailto and the tel keywords in the links’ href attributes, like so:
<address>
  <a href="mailto:lara@scale.at">lara@scale.at</a><br />
  <a href="tel:+4369901234567">+43 699 01 234 567</a><br />
  <!-- more contact data -->
</address>
Finally, this is how the contact page looks like in the browser.
By the way, this is not actually my real phone number and postal address, so please don’t call or send postcards!
Summing up
Let’s recap what we’ve done today: we grew our first small web page into our first small website! 🎉 Isn’t that cool? We’ve also heard some things about inline and block elements as well as additional meta information. We’ve learned what landmarks are and why they are useful in terms of accessibility.
Remember that the full code of this part of the tutorial can be found in a GitHub repository.
Our website now consists of a homepage, an about me page, and a contact page. The latter we are going to enhance with a contact form the next time, so stay tuned!